Find your match for your next match!

Overwatch just got its first post-launch hero – as well as a major patch balancing several of the colorful cast – changing the feel of the roster we’ve first come to know from playing Blizzard’s team shooter bonanza.
In this guide – which we’ll update as more characters join the ranks – we look at each character’s role, difficulty to learn, essential tips, and what kind of player will make a great match for them.
In short: Looking to find your next favorite hero to main for your next match? Don’t worry, loves – the calvary’s here!
Genji
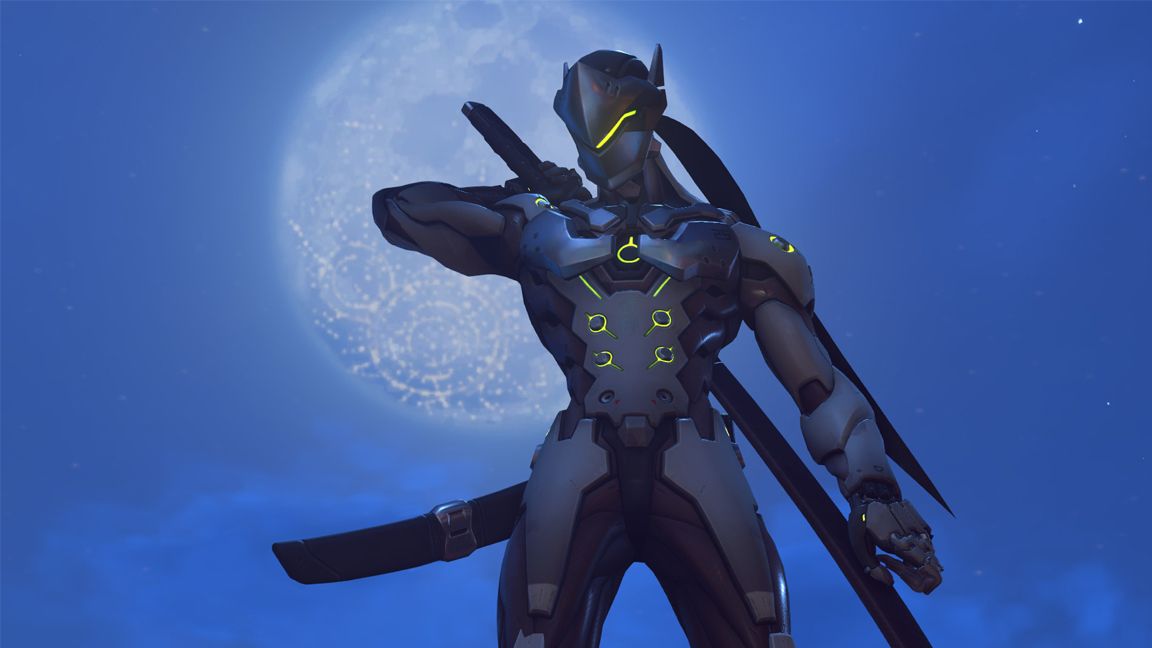
Role: Offense
Learning Curve: High
The cybernetic ninja Genji takes some serious practice, but can be a never-ending thorn in the enemy team’s side in the right hands.
Movement is the key for success when playing Genji. His double jump, wall crawl, and Swift Strike allow him to dodge trouble as well as cause some of his own against hard-to-reach snipers or turrets.
What your enemies will really come to fear – or just be frustrated at – is Genji’s Deflect ability, which can ricochet shots, including Ultimates, right back at them.
This is just as much a defensive ability as an offensive one, as you’ll need to keep bullets from reaching Genji to keep his low health pool from hitting zero.
Perfect for: Melee-minded players who love precision, mobility, and anime-style takedowns.
McCree
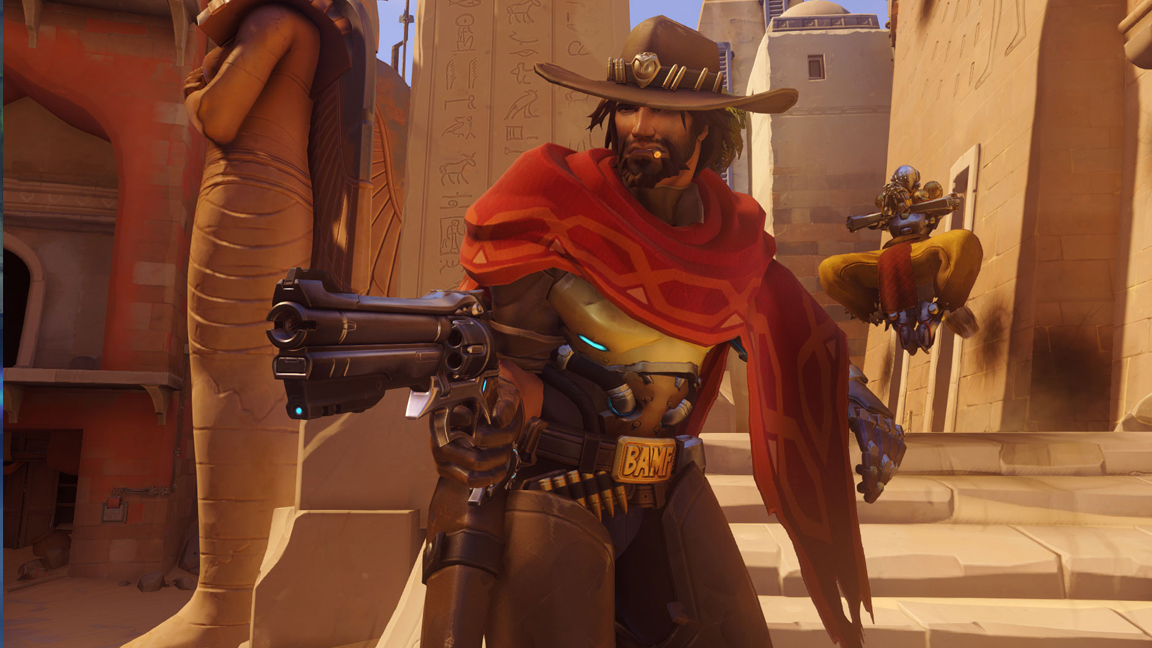
Role: Offense
Learning Curve: Medium
McCree is a sharpshooter, through and through. His Peacemaker does best when each bullet finds its mark, so avoid multi-foe brawls where there aren’t enough shots to go around.
While the anachronistic hero is best at medium-to-long-range, McCree is still a threat up close, especially if he lands his Flashbang ability to stun an unsuspecting enemy for a quick headshot or fan-the-hammer kill.
In addition to Flashbang, McCree’s Combat Roll offers an extra advantage in an up-close battle, dodging attacks and reloading all in one fluid motion. Use these abilities often, as an overwhelmed McCree ends up dead faster than you can say, “it’s hiiiigh nooooon.”
Perfect for: Twitchy players with a steady aim and an affinity for 12 o’ clock.
Pharah
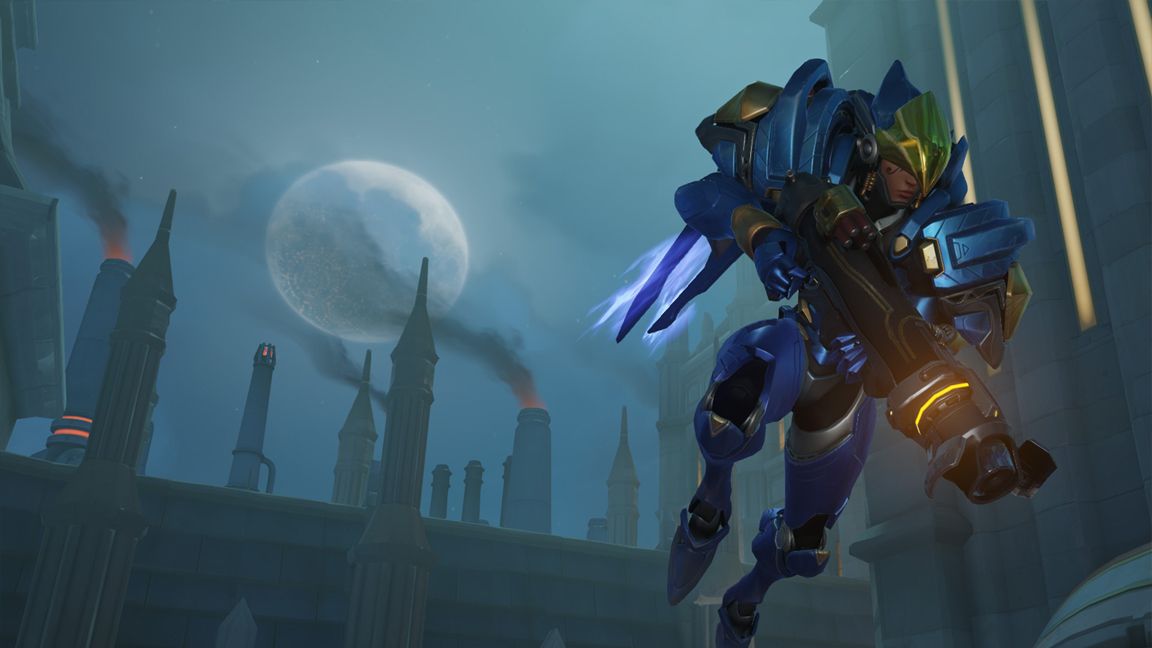
Role: Offense
Learning Curve: Low
If you’re practiced with a missile launcher from years of Quake or Unreal Tournament, then Pharah is for you. Her Jump Jet also lends the armored hero an aerial advantage, lending for some easy kills on enemies forgetting to look up.
Going airborne has its downsides, however. With no cover to fly behind, a flying Pharah makes for an easy skeet shoot for heroes like Widowmaker, McCree, or Bastion, so juggle your time on and off terra firma to keep opponents guessing.
Perfect for: Old-school shooter fans or players itching for a little more verticality.
Reaper
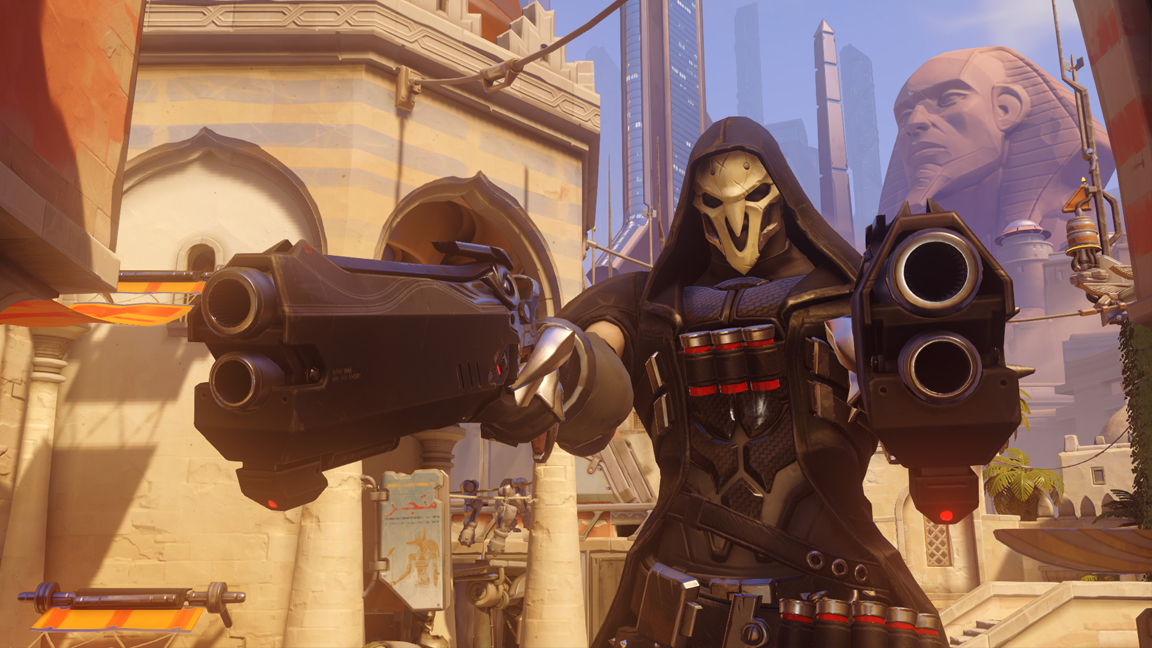
Role: Offense
Learning Curve: Low
Look past Reaper’s cartoonish attempt to appear edgy, and you have a very effective Offense character who serves as a perfect counter for some of Overwatch’s most difficult matchups.
Reaper’s Wraith Form and Shadow Step are excellent evasive abilities that allow the monochrome killer sneak past snipers, turrets, and traps with ease, making a sneaky Reaper attack the bane of many a Widowmaker, Bastion, and Torbjörn.
Since Reaper’s tools of the trade are two…*sigh* Hellfire Shotguns, getting all up in your opponents’ collective grills is the only way to go. Should you find yourself encountering an enemy outside of your preferred range, use Wraith Form and peace out or you’ll be the one meeting the reaper instead.
Perfect for: Players who prefer the up-close-and-personal approach; teenagers still going through their Hot Topic years. (Hey, we’ve all been there.)
Soldier: 76

Role: Offense
Learning Curve: Low
The grizzled grandpa of Overwatch may seem like a generic Call of Duty-style run-and-gun type, but there are few more solid picks for an Offense character than ol’ Jack Morrison.
The key is balancing use of his Pulse Rifle with his explosive Helix Rockets – the precision of the former in short bursts and the splash damage of the latter makes 76 an adept for players who like a little distance in firefights.
76’s more “conventional” style of FPS play is also an intentional move by Blizzard to create a character perfect to acclimating to the over-the-top cartoon antics of Overwatch with. You can’t do better for a starter hero who can later become a tried-and-true with a little practice.
Perfect for: Players who want to translate their skill from other shooters without having to spend too much time practicing oddball mechanics.
Tracer
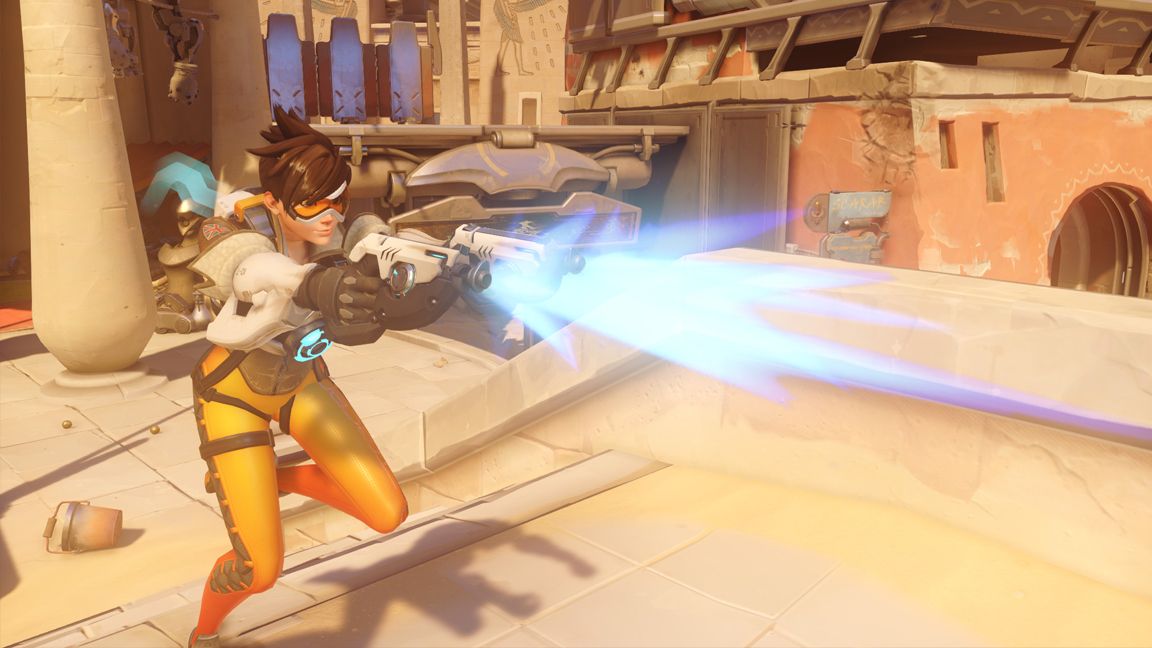
Role: Offense
Learning Curve: Medium
Like a good Vin Diesel movie, Tracer’s playstyle is fast and furious. Newer players will need to adjust to the speed of her Blink teleport and rapid-fire Pulse Pistols, but once you have handle on her, expect to be a hassle for the enemy team.
Blinking through enemy lines – or using Recall to duck out of a sticky situation – makes Tracer a perfect pick for taking out problems in the back row, such as stationary turrets or all-too-comfortable snipers.
However, Tracer is about as sturdy as dry linguini noodles – she’ll crumple to just about anything that can land a solid hit on her. Also, Recall may rewind you back to safety, but it’s not a get-out-of-jail-free card – it won’t prevent a stun or getting knocked down!
Perfect for: Those of you with a hundred hours spent playing The Scout in Team Fortress 2.
Bastion
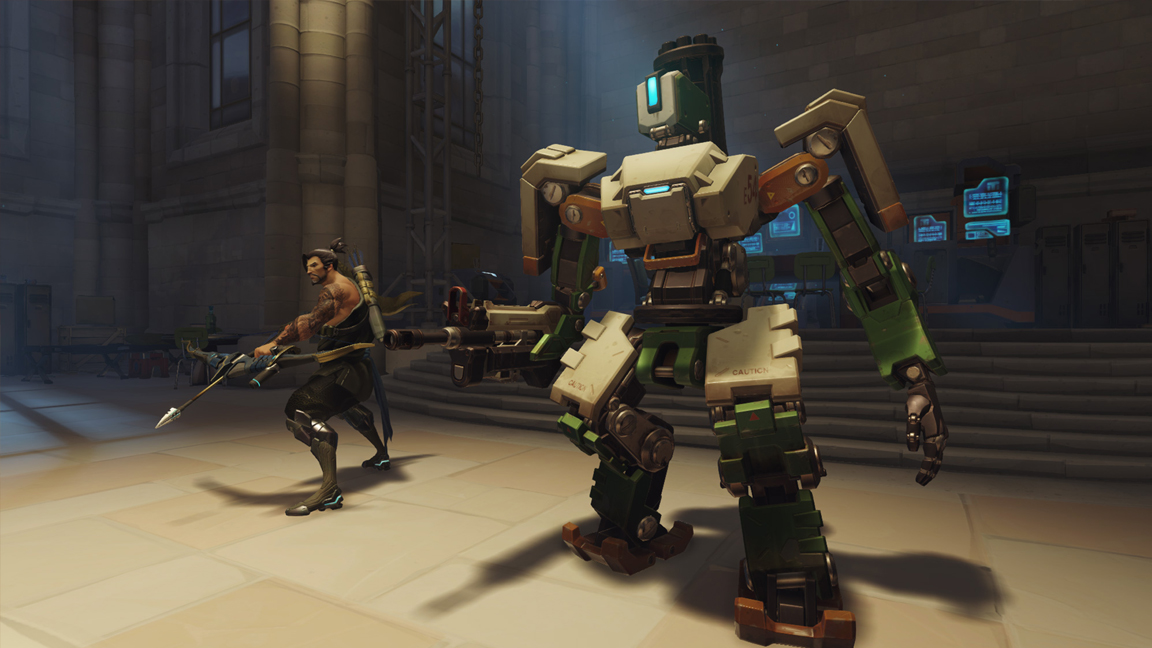
Role: Defense
Learning Curve: Low
Bastion may get you hate for playing a supposed “zero-skill” hero, but at the end of the day, a Bastion in the right place at the right time can stop an aggressive enemy team dead in its tracks.
The Sentry Configuration is the crux of Bastion’s playstyle, turning the mute robot into a devastating – albeit immobile – turret. The key is finding a cozy choke point near the objective and keeping the heat on while making sure to take breaks in between firefights to use its Self-Repair ability. Don’t go looking for trouble – just let it find you.
That said, the most important thing to remember is protecting your six. Damage you take is doubled if hit from behind in Sentry mode, so back up against walls and keep changing up your location so that an enemy Reaper or Tracer can’t get the jump on you.
Perfect for: Players who enjoy tower defense games more than first-person shooters.
Hanzo
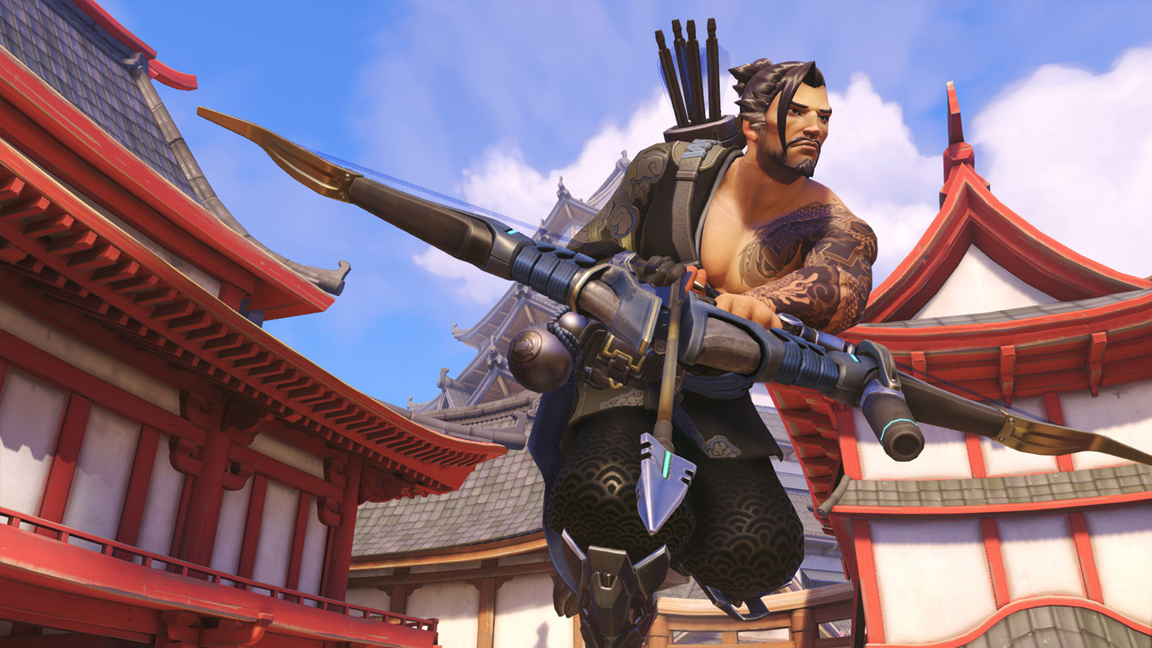
Role: Defense
Learning Curve: High
Hanzo’s lethal bow skills make him an excellent choice for players looking for an alternative take on sniping, but you may want to spend some time at the shooting range before you take him online.
Once you’re comfortable with Hanzo, regularly loose a Sonic Arrow to scout out potential prey – or avoid stumbling into a trap – while saving room-clearing Scatter Arrows as a close-range or trick shot maneuver if you wind up caught up in the thick of it.
Much like his brother, Genji, Hanzo rewards skill with versatility and efficient eliminations, but just expect to be getting Play of the Games for yelling “RYUU GA WAGA TEKI WO KURAU!” instead of landing slick headshots.
Perfect for: Players who can keep their aim true under pressure…and perhaps know a few things about geometry.
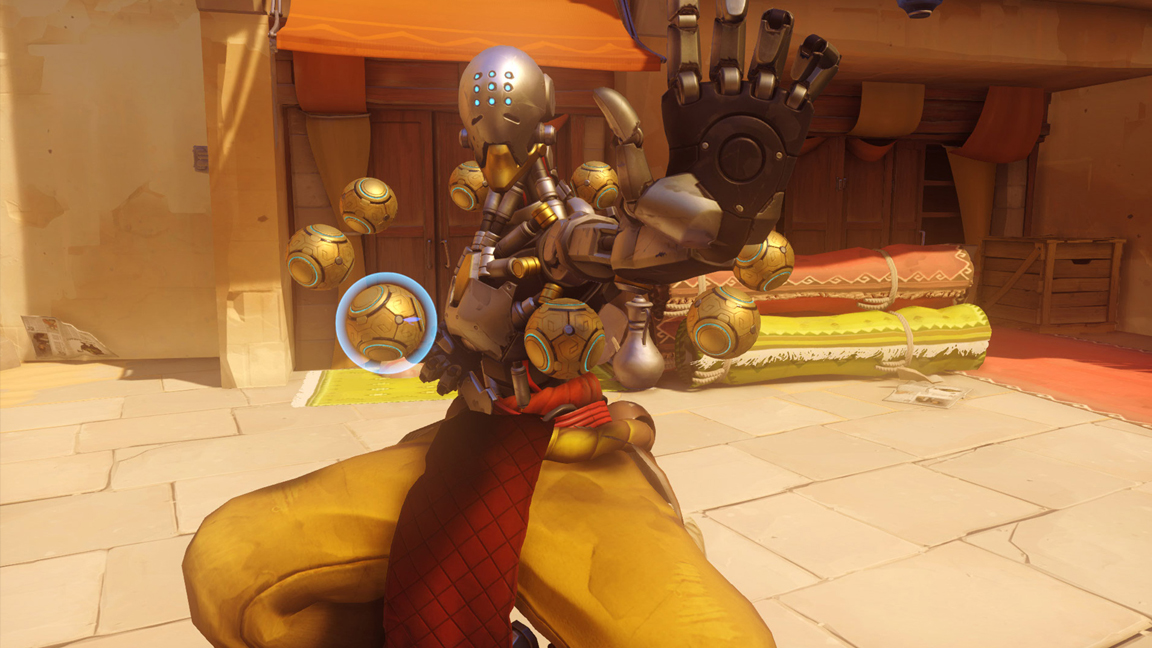
Junkrat
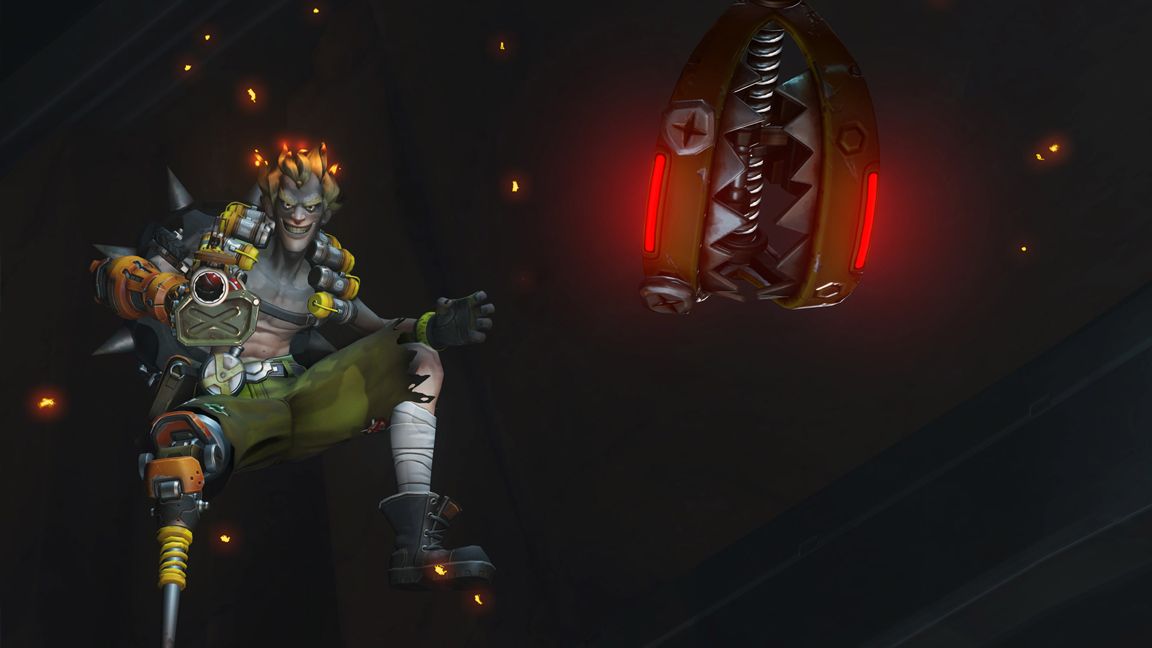
Role: Defense
Learning Curve: Medium
Junkrat’s arsenal of grenades, mines, and bear traps give him an ‘X-factor’ when it comes to dislodging battened-down enemy teams.
This is especially the case when Junkrat has the higher ground. Detonating a Concussion Mine beneath Junkrat’s feet on it is an easy way to access hard-to-reach places, so practice this skill liberally.
While you’re at it, practice everything else. Junkrat’s lobbed weapons and traps require a little skill to have land just where you want them, and knowing the topography of each map is a must, so get to work!
Perfect for: Patient players with a penchant for projecting pyrotechnics with perfect precision.
Mei
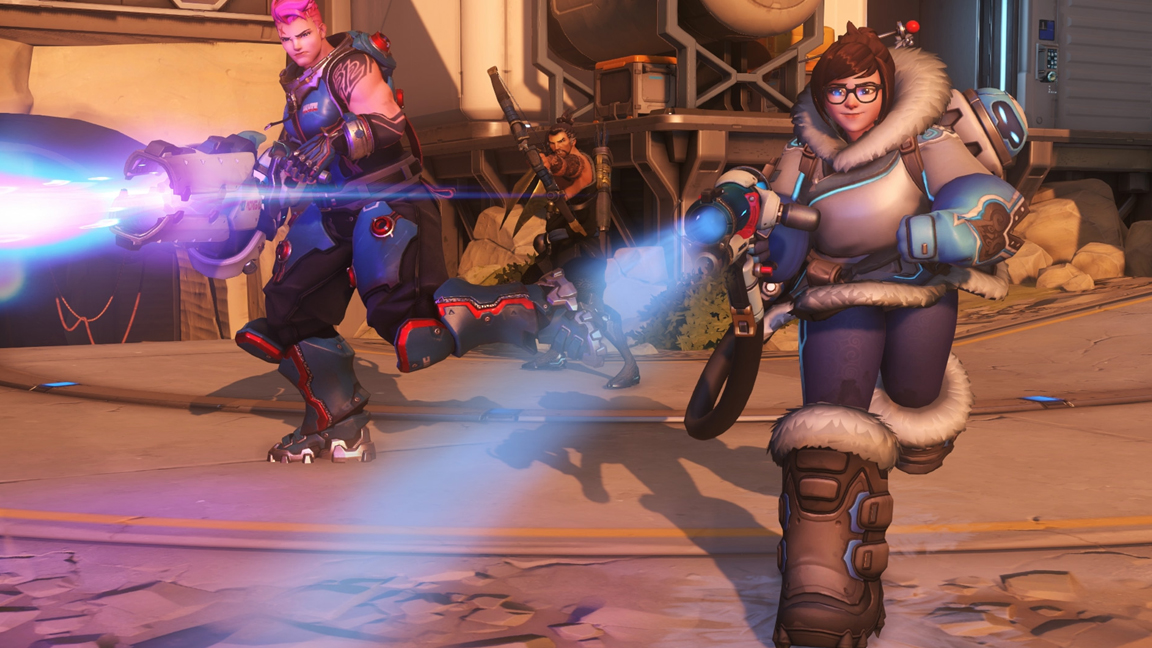
Role: Defense
Learning Curve: High
Mei is essentially what would happen if you ran Mister Freeze through the Pixar character design department. She freezes enemies dead in their tracks, throws up walls, and can shield herself from the worst an opponent can throw back – making her very tricky for novices playing as her, and doubly frustrating for novices playing against her.
Mei works best when numbers are in her favor, as she can only concentrate on freezing one subject at a time (unless she’s using her Ultimate) and having your whole team gang up on a frozen foe-sicle is an easy kill.
Leave her to go solo, however, and her usefulness begins to melt away. Just chill near the objective, play ice with your allies, and give your enemies the cold shoulder.
Perfect for: Those who have the most fun when they are denying it from others; fans of ice-related puns.
Torbjörn
Role: Defense
Learning Curve: Medium
This Swedish mechanic can set up a mean defense thanks to his trusty hand-built turret. In the right position, Torbjörn’s mechanical sentry can be just as much a hassle for the enemy team as a well-placed Bastion, without ever having to actually be present!
Finding the right place to build is key, but the real trick is making sure you’re spending downtime hunting scrap to build armor for you and your team, on top of keeping your turret in good shape.
One thing to watch out for, however, is knowing when to cut your loses and begin anew. Torbjörn’s Rivet Gun isn’t much for engaging the enemy, and going back to save a turret under fire could result in going down with the ship.
Perfect for: Those who enjoy Bastion’s style of defending, but would prefer a little more helicopter parenting over the team.
Widowmaker
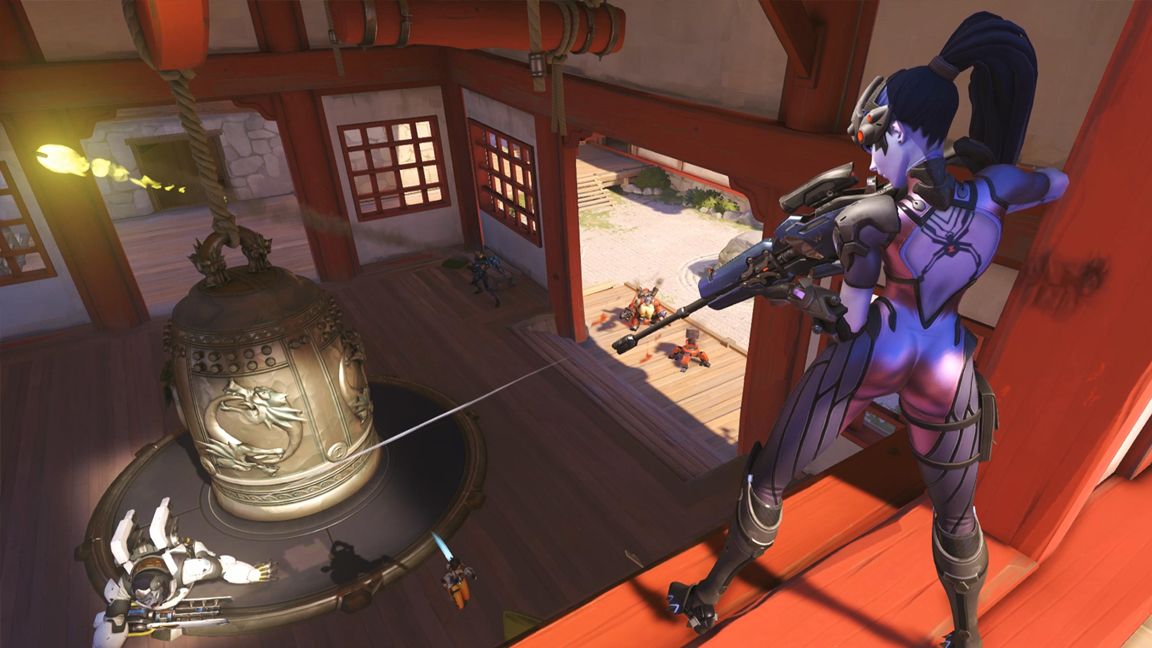
Role: Defense
Learning Curve: Medium
As classic as a sniper class gets, Widowmaker is perfect for precision-minded players with a steady hand. Besides the obvious long-range advantage she lords over the competition, she also sports some handy mobility with her Grappling Hook.
Grappling up to ledges and rooftops is one way to exploit this ability, but the Hook can also help Widowmaker flee to a neighboring vantage point if her position is compromised.
Her motion-activated Venom Mine is also as good at offense as it is saving Widow’s hide. Place them somewhere near your flank and they can help warn when an enemy’s getting too close for comfort – ensuring a clean getaway or even a premeditated counter-attack!
Perfect for: Anyone who likes playing snipers in literally any shooter ever.
D.Va
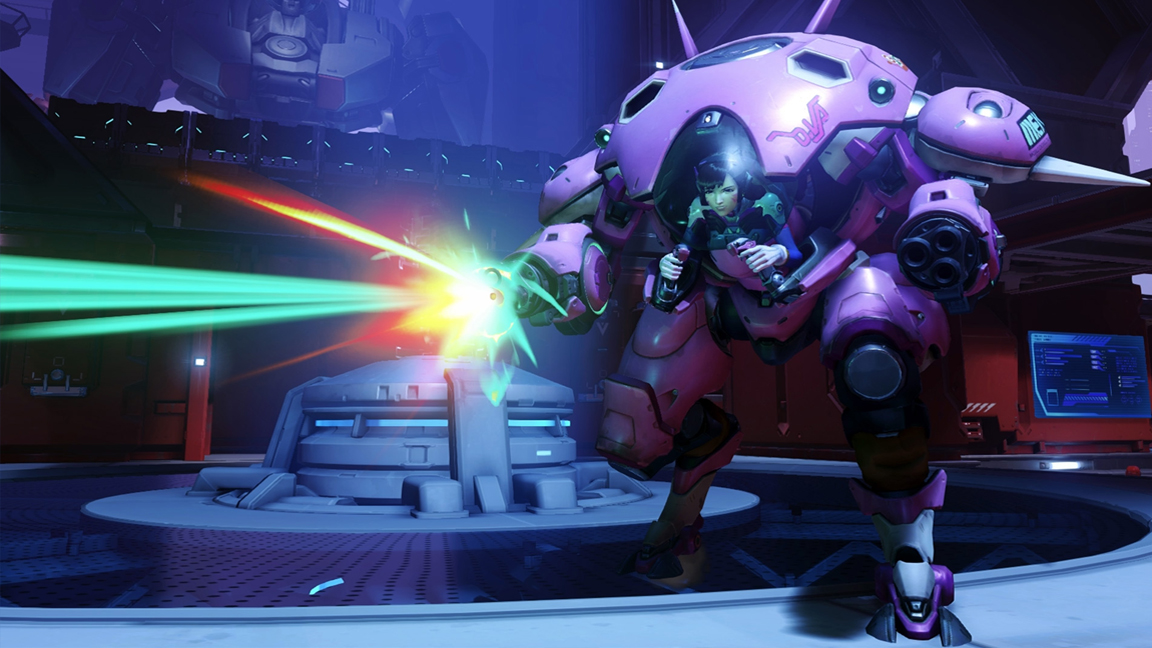
Role: Tank
Learning Curve: Medium
Thanks to a recent patch, D.Va is now a solid hitter in the Tank department. Her Defense Matrix puts up an impressive barrier that – especially when combined with her MEKA’s boosters – can easily close the distance between her and her foe.
She also sports the highest amount of armor in the game – indicated by the yellow portion of her hit pool – making her especially effective against rapid-fire heroes like Tracer or Soldier: 76.
Her self-destructing mecha also got a buff, now detonating faster and making D.Va immune to its blast, so hit those boosters, start the countdown, and jump out to some fireworks.
Also, while D.Va is caught outside her exosuit, don’t give up! Spam her side arm – it’s actually stronger and more accurate than the mecha’s Fusion Cannons. Just don’t get too cocky – without her mobile suit, she can’t exactly soak up damage when she’s exposed.
Perfect for: Tank players who love versatility. D.Va touts mobility, damage, and defense in one 1337-speaking package!
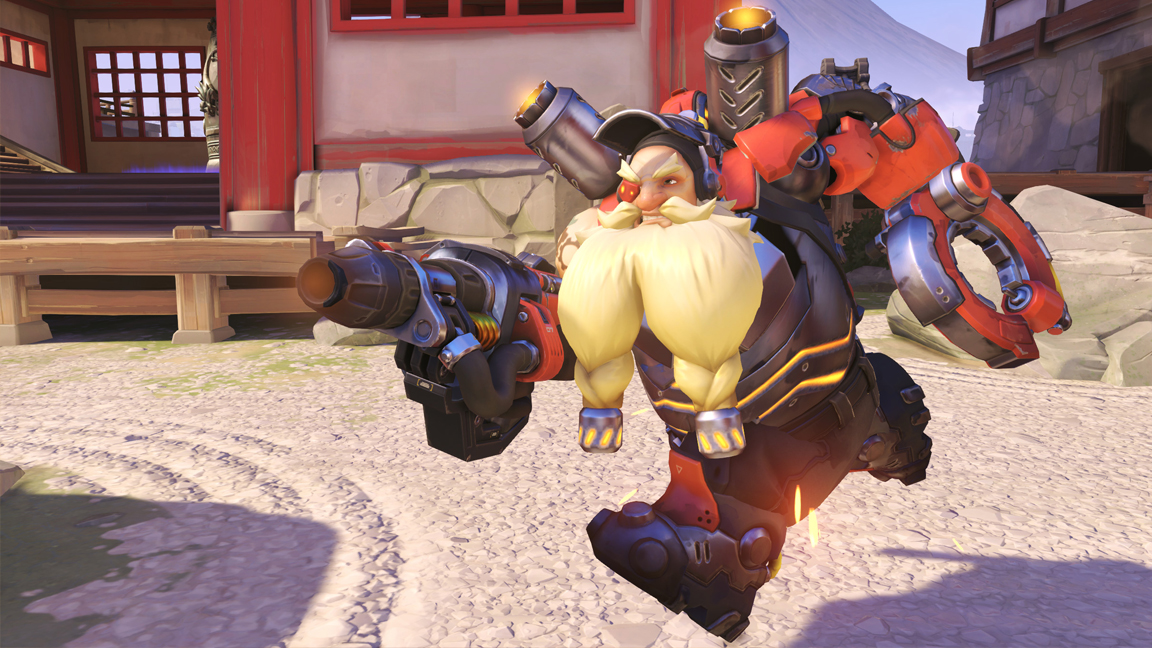
Reinhardt
Role: Tank
Learning Curve: Low
Reinhardt is one of those heroes that works well in just about any map, and easily the tankiest Tank to ever tank.
Old Reiny can throw his weight (and battlehammer) around in a pinch, but his bullet-soaking Barrier Shield is where it’s at. Protecting the objective, a friendly turret, or your favorite medic won’t just net thumbs-up from the rest of your team – it wins matches.
Keep a mental note not to over-extend, however, as Reinhardt’s flanks are easy to exploit if you venture too far from the team and since attacking requires dropping your shield, fighting back may only make things worse.
Perfect for: Anyone who believes that the best offense is a good defense, and knows to put the objective first before their kill count.
Roadhog
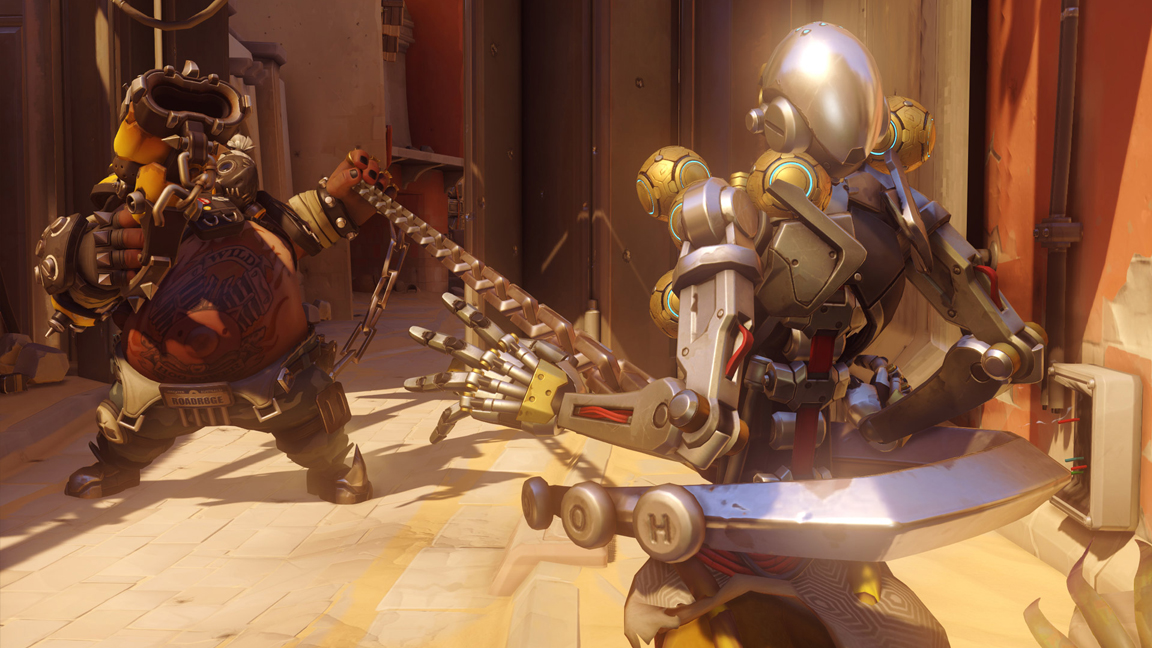
Role: Tank
Learning Curve: Low
With redonk amounts of health – and no trouble keeping it full thanks to his healing ability, Take a Breather – Roadhog has the sustainability of a classic jungler, to use League of Legends parlance.
Self-healing has a low cooldown and even helps build up his Ultimate, so slot in frequent Breathers and keep in the fight.
The real meat is Roadhog’s Chain Hook – allowing him to snag unsuspecting foes (such as an errant Mercy or entrenched Bastion) and bring them in for a big ol’ Roadhug.
Just remember: the Scrap Gun only holds four shots, so losing count could result in an embarrassing moment where your Chain Hook victim just watches you reload instead of getting blasted in the face.
Perfect for: Those who loved Scorpion’s “get over here!” spear move in Mortal Kombat and own a Blu-Ray of Mad Max: Fury Road.
Winston
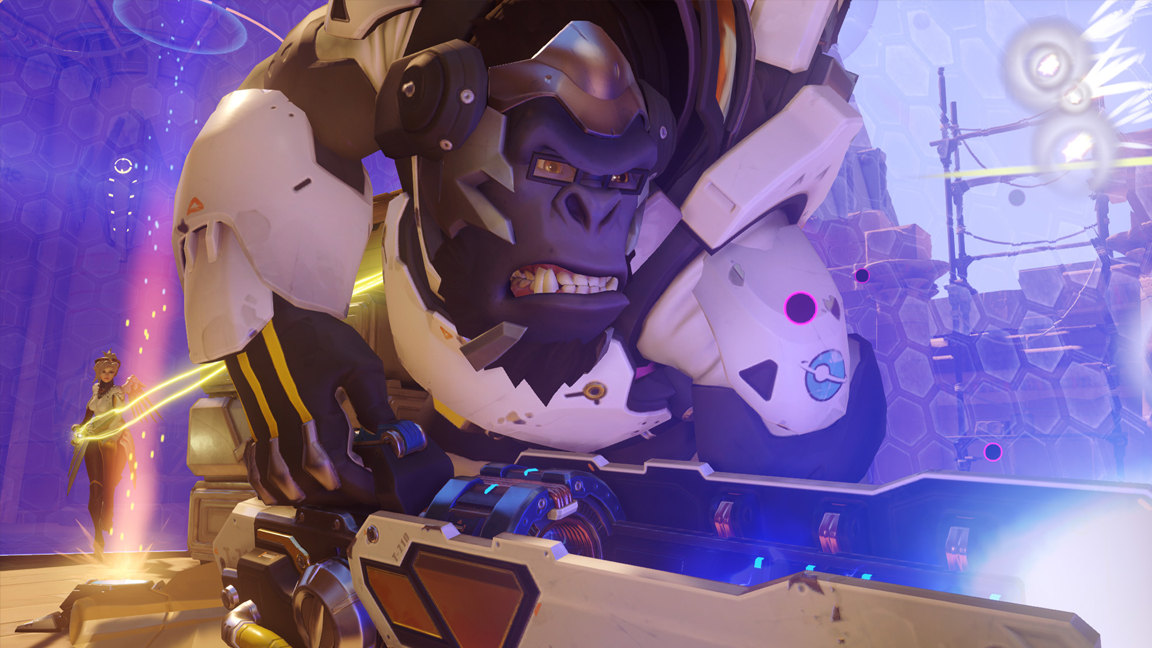
Role: Tank
Learning Curve: Medium
Despite being a massive gorilla, Winston is both well-spoken and a capable defender in battle.
His Jump Pack ability allows to slam into enemy lines from a distance, disrupting their flow with his protective Barrier Projector and auto-aiming Tesla Cannon – the latter being especially effective against hard-to-hit nuisances like Genji or Tracer.
An excellent pick for making the opposing team scatter, Winston can easily mess with backstage Support-types and long-range heroes who’ve gotten a little too comfortable. Check that your team will actually show up with reinforcements before you jump in, however, because Winston becomes a big target for a counter-attack once the Barrier drops.
Perfect for: Those more concerned with rallying the team to break through the lines than raw damage. Also a great pick for taking/keeping objectives!
Zarya
Role: Tank
Learning Curve: High
An intriguing blend of Tank and Support, Zarya’s barriers can protect herself and her allies for brief moments – all the while channelling that damage into her Particle Cannon to make it deadlier.
The key here is juggling barriers – namely waiting until you or a teammate is already getting hit to soak up as much damage as possible. The damage bonus slowly wears down, so keep looking for opportunities to cast barriers!
Zarya plays best when she’s playing the pseudo-medic on top of her normal duties as a burly, so if sticking close to the team isn’t your jam, you may want to consider a new hero.
Perfect for: When you need a Tank, but don’t put a lot of faith in your current healer to keeping the team alive.
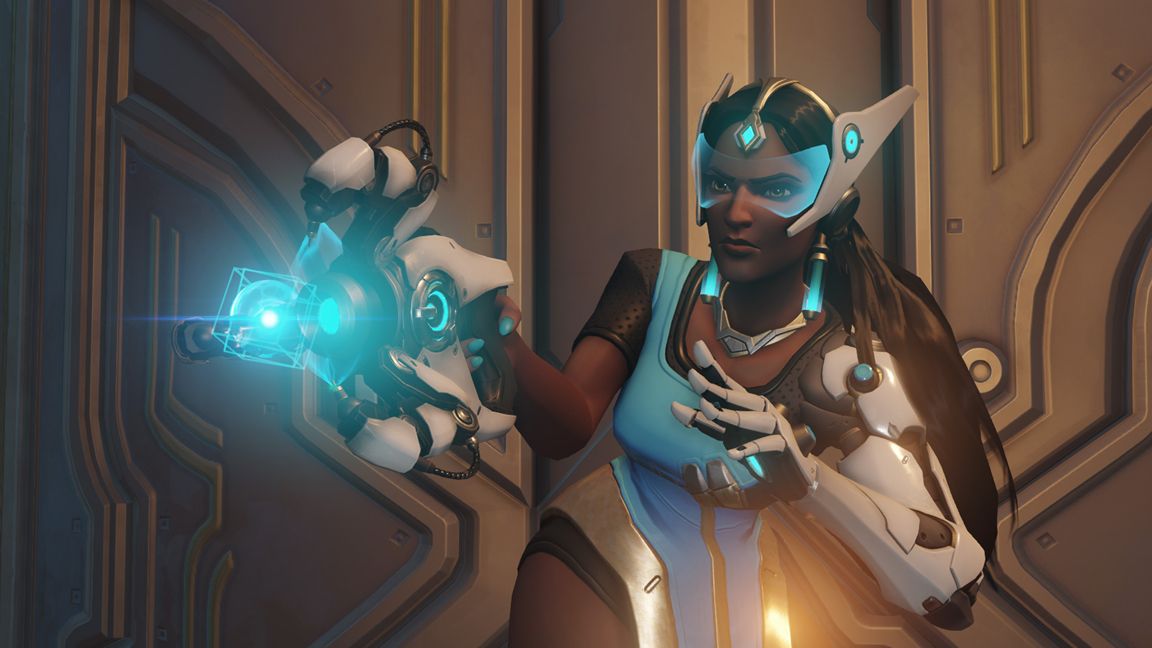
Ana

Role: Support
Learning Curve: High
Ana is a sniper/Support mix, hurting enemies from a distance while popping allies to restore their health. She can also use her Biotic Grenade to boost your team’s healing rate – or stop your opposition from healing at all!
While it’s tempting to pick Ana outright because she’s the shiny new hero added to the roster, her tricky skillset and distinct lack of mobility makes her an easy target if she’s not protected. Also, providing support is all about precision, so fire-and-forget types may find Mercy or Lúcio better choices for playing Support.
If you’ve got the touch, Ana can create massive advantage for your team, but be sure to practice so you don’t wind up a liability instead.
Perfect for: Snipers that want to make love, not war. Also, higher-level Overwatch players looking for a challenge.
Lúcio
Role: Support
Learning Curve: Medium
The true essence of the Support class, Lúcio makes the team better just by standing there, boosting allies in earshot with his healing/speed-boosting jams.
Lúcio can also use his Sonic Amplifier’s Soundwave skill to buy your team some breathing room from aggressive enemies – that, or push them off a ledge to their death, so learn the map if you want to rack up some kills on the side while pushing your team.
As mobile as he is, don’t stray too far from the group. Lúcio’s no good to the team when out of their range, and even less useful if he’s picked off by a wandering McCree or Pharah.
Perfect for: Anyone looking to play a “hands-off” healer or has any nostalgia for Jet Set Radio.
Mercy
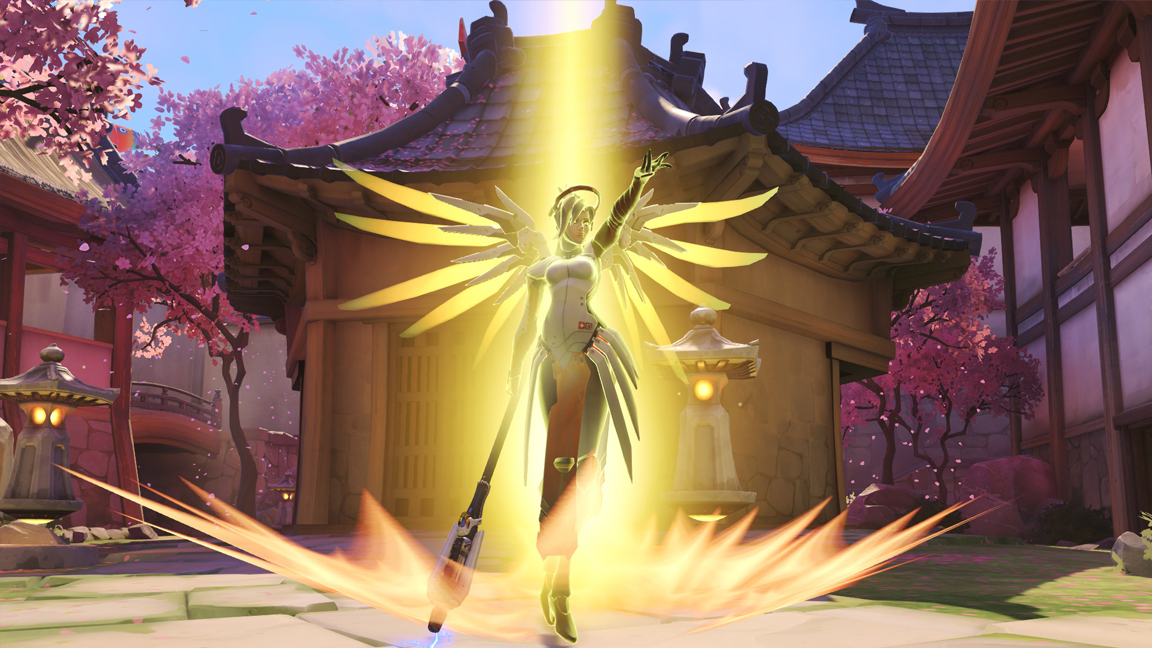
Role: Support
Learning Curve: Low
Arguably the easiest Support hero for newcomers, and possibly the most powerful in the hands of experts, a well-played Mercy can turn a losing game around on a dime.
On top of her standard M.O. of healing allies from a distance, Mercy’s damage boost can help her patients pick off enemies, ensuring that she’s always making a difference as long as she’s applying some kind of buff to someone.
Couple this with her Guardian Angel dash for added mobility and, of course, the ability to resurrect fallen allies in the middle of a losing fight, and you can see why Mercies are often a must-have for any team that’s short a Support hero.
Just be sure to stick to the background and let the team do the dirty work – Mercy’s Resurrect doesn’t work on herself, after all.
Perfect for: Anyone! Seriously, the match is starting in ten seconds and we still need a healer.
Symmetra
Role: Support
Learning Curve: Medium
Symmetra doesn’t play Support like other heroes in her class. She doesn’t heal, debuff the enemy, or increase your damage output. Instead, she supports the team’s effort by setting up turrets, outfitting allies with shields, and even setting up a teleport to get freshly-respawned heroes back in the fray instantly.
Symmetra’s turrets can be particularly distracting for the enemy team, so be sure to stick them somewhere hard to reach, like a blind spot or the ceiling, so that impatient Tracers or Genjis burn through most of their health just trying to find trap they’ve sprung before neutralizing it.
Keep your head on a swivel, though! Symmetra is good at aiding others in battle, but going one-on-one is a sure way to wind up using your teleport after being blasted back to the spawn room.
Perfect for: Strategist-types that know wars are won just as often with subterfuge as raw firepower.
Zenyatta
Role: Support
Learning Curve: High
Ever since the latest patch buffed him up to “playable,” the spiritual Omnic has been seeing a lot more play lately. Novices will still have to work at it to achieve Zen, but anyone desiring a more aggressive take on Support need not ignore him anymore.
The key is mobility and lining up your shots – Zenyatta’s Orb of Harmony and Orb of Discord heal allies and weaken enemies, respectively, but require a constant line of sight. Juggling your Orbs with purpose and concentrating on one friend and one enemy at a time is key.
With some practice targeting friends and foes – plus some well-placed Orbs of Destruction for the latter – Zenyatta can be surprisingly hard-hitting for a Support hero. You can thank Blizzard’s update schedule for that one.
Perfect for: Support fans who might’ve snubbed the poor guy when the game launched.
Source: techradar.com