We recently reviewed Reolink’s marvelous RLC-410 4MP PoE Security IP Camera. One of it’s most notable features is that it doesn’t carry the added cost of a cloud subscription for storing video footage. Instead, you record directly to your mobile device, PC, or—if you want to use several cameras as part of a larger security system—to Reolink’s own network video recorder (NVR). We tried out the NVR while we had the RLC-410 in hand and decided to review it separately to do justic to its breadth of features.
Reolink offers two versions of it’s standalone NVR: the 8-channel RLN8-410 reviewed here and the and the 16-channel RLN16-410. The company also offers a few different models packaged with cameras as complete NVR kits, though specs and features may vary from those in this review.

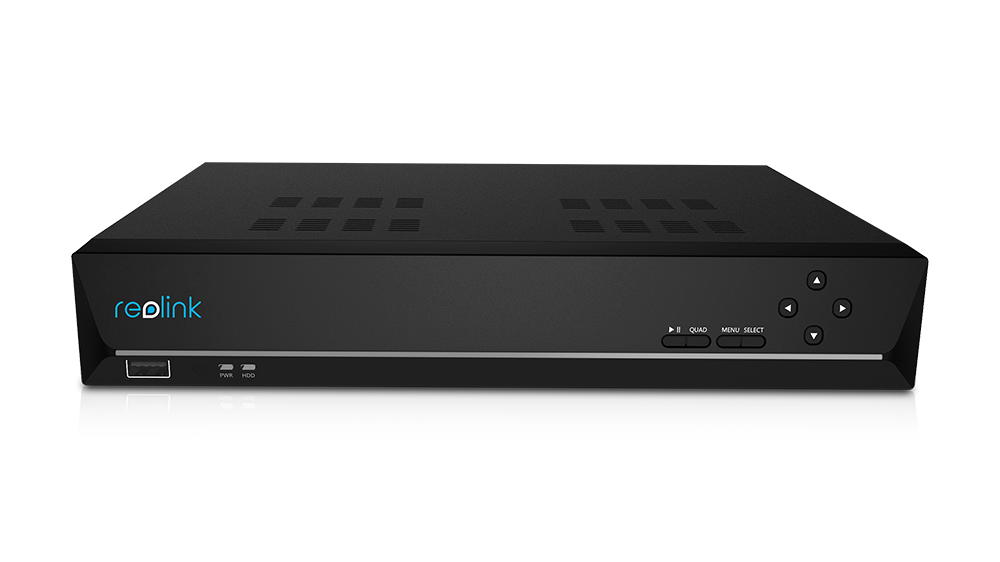
The NVR measures 10.91 x 3.82 x 3.82 inches—about the size of a standard cable box—and it houses a 2TB hard drive. The front control panel features a handful of navigational buttons, though you’ll undoubtedly perform most of these functions through the on-screen interface using the supplied two-button mouse. Along the bottom is a single USB port.
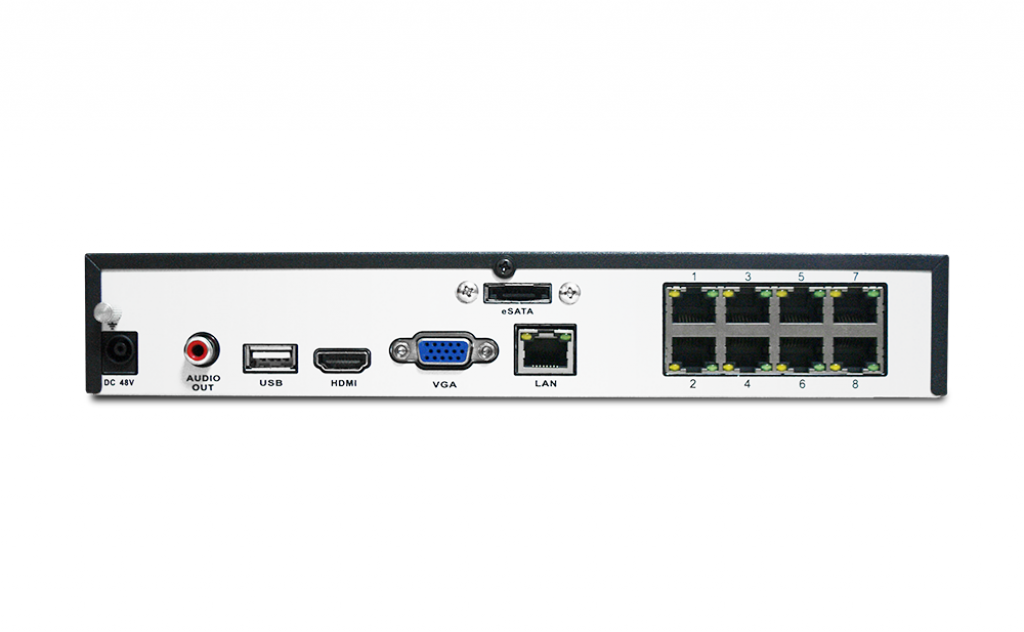
The rear panel includes both an HDMI and a VGA port (so you can connect the NVR to either your HDTV or a computer monitor), an audio out, a USB port (in case you want to backup footage to another drive), and a LAN port. Most importantly, there are eight PoE (power-over-ethernet) ports for Reolink cameras (the NVR won’t work with any other brand). There’s also an e-SATA port for connecting up to a 4TB external hard disk if you have particularly voracious storage needs.
Setup and usage
The Reolink NVR lives up to its plug-and-play promise. Just connect it to the monitor of your choice—an HDMI cable ships with the unit, but it you’ll need to scare up your own VGA cable if you choose to go that route—plug it into your router using the supplied ethernet cable, and power it on. Hook the mouse up to one of the USB ports, and, if you’re using a camera with a built-in mic, connect a speaker to the audio out.
Next, you’ll connect your Reolink cameras. Because the NVR supports PoE, electrical power is supplied over the network cable; you don’t need to use your cameras’ separate power source. This significantly reduces cable clutter as you set up multiple cameras around your home or business: You’ll only have to thread a single network cable from each camera back to the NVR.
The first time you start up the NVR, a setup wizard prompts you through the process of creating a password, setting an access level, and configuring various camera and network settings.
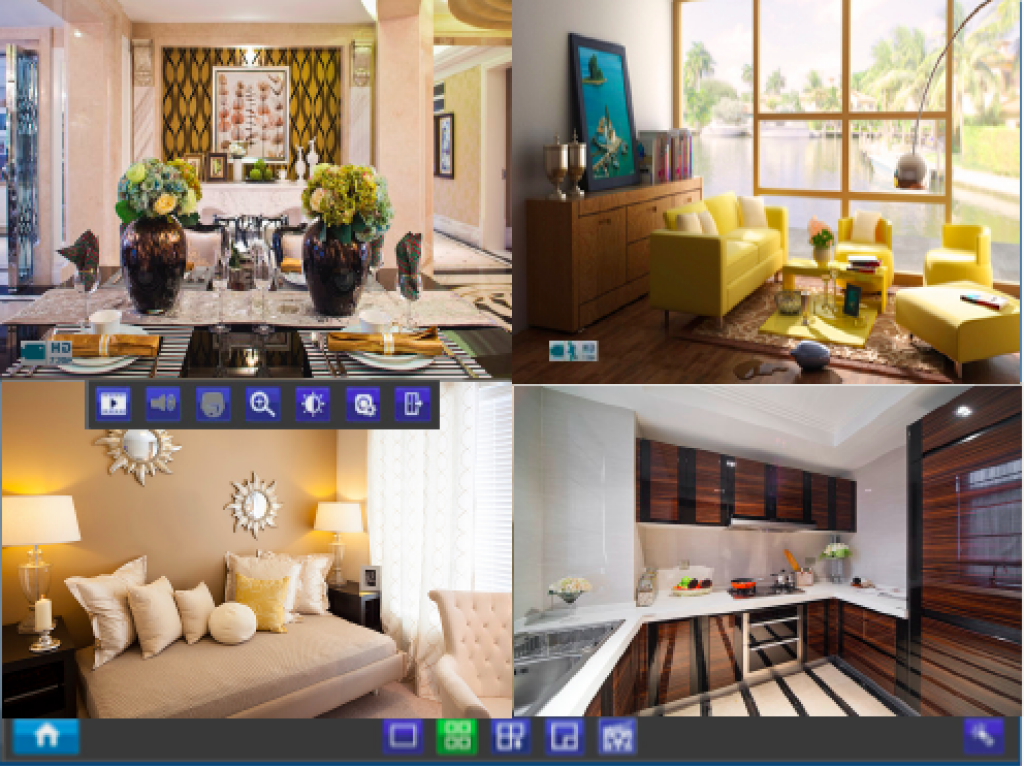
Live view is the default display mode, and once you finish the setup process you’ll see all of your connected cameras in a nine-panel display (the ninth window is empty). You can toggle to a full-screen single-camera view, a 2×2 four-camera view, or an eight-camera view via the menu bar across the bottom of the screen. From here you can also advance from one camera to the next, switch to picture-in-picture mode, or trigger a manual recording if you see suspicious activity on one of your cameras.
Information about each camera’s status is displayed through a series of icons. For example, an “HD 4M” indicates the camera records in 4MP high-definition resolution, a camera icon tells you the camera in question is currently recording, and an icon of a figure running means motion has been detected. Other icons indicate when the camera has lost its video feed or is encountering other problems.
Clicking on any individual camera view brings up the menu bar for that camera. Options here include the ability to play back recorded video, activate live audio, and operate zoom on that particular channel. Image and camera settings, including motion detection, are also accessed here.
The motion-detection options here are similar to those found on Reolink’s mobile app and desktop client. You can schedule activation times or motion detection for individual cameras or all cameras together, and you can adjust the camera’s motion sensitivity on a scale of 0 to 10 (the lower the number, the more sensitive the motion detection). For each camera, you can also make certain areas in the camera’s view less sensitive to motion by masking parts of the image.
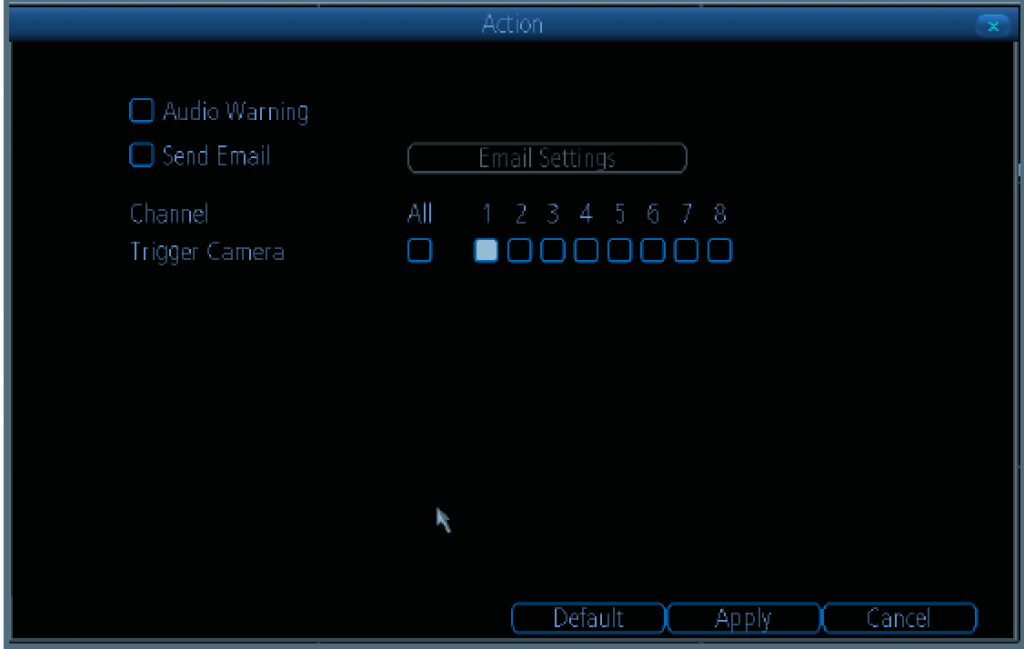
When the camera detects motion, it will perform up to three actions based on your selections:
Send an audio warning: the NVR will emit an alarm tone to ward off an intruder
Send an email alert: the NVR will send you an email when motion is detected. You can have a snapshot of the triggering event sent as an attachment.
Trigger recording: Depending on your configuration, one or more cameras will begin recording video.
To keep false alerts in check, the NVR allows you to schedule recording times for each camera. As with motion-detection scheduling, you select times on a grid and designate the recording type for each—Normal, for 24/7 recording; Motion, for recording only when the camera detects movement; or None, for deactivating recording altogether.
It’s a safe assumption that if you’re using the NVR, you’re recording a lot of video. So the system includes robust search features that let you locate video by type and time or by looking through a chronological log.
In our test using the RLC-410 camera, the NVR performed very well. It had a short learning curve thanks to its simple interface and easily identifiable icons. Navigating with the mouse can be a little clunky when you must enter data, and the UI won’t win any beauty contests, but those are minor quibbles. The NVR offers a wealth of custom options for each camera you use that could never be fully covered in a review, so make sure you download the user manual and keep it handy when setting up your security system.
Bottom line
If you’re just looking for simple in-home security solution, Reolink’s NVR is probably overkill. You’d get more bang out of one or two of the company’s inexpensive cameras and storing the video on your trusty PC. But if you need an affordable security system to keep a watchful eye on a large property or business, and you need to keep lots of recorded footage for review, Reolink’s NVR is highly recommended. Not only will you get a comprehensive security solution at a fraction of what you’d pay for a CCTV surveillance system, you’ll also save money and headache on the installation. That’s a bargain at any price.
This eight-channel NVR can be the hub of a powerful security system for anyone with serious surveillance needs.
MSRP: $300
Pros
- Supports up to eight Reolink PoE cameras
- Highly customizable
- Stores up to 2TB of video
Cons
- Using mouse to input data can be clunky
- Unattractive user interface
- Overkill for most home users
Source: pcworld.com