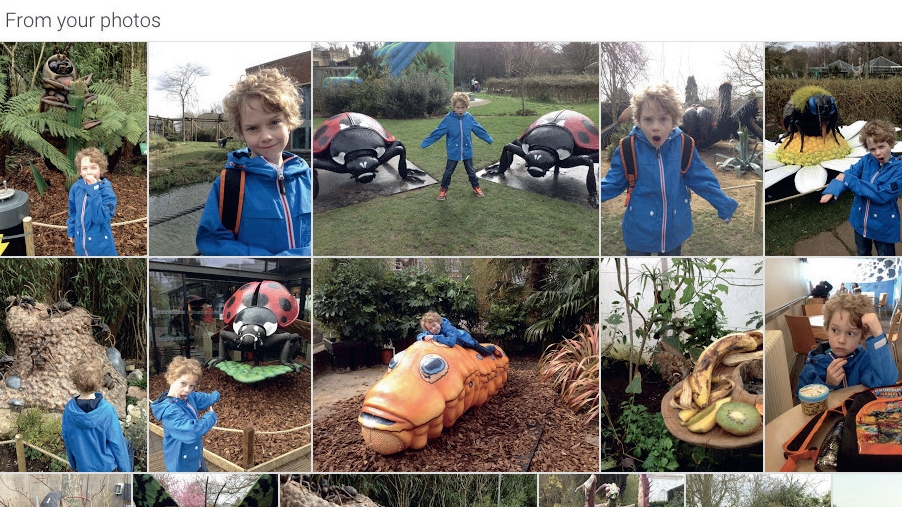
Uploading photos to Google Photos
With its world-class reputation as a search engine and email provider, Google might not be the first thing to spring to mind as a place to store your photos online.
Photo-sharing sites, such as Flickr, probably pop up first, but thanks to the way Google integrates everything and makes sharing easier than ever, it’s become an option well worth checking out.
Let’s also not forget all that lovely free storage! Google Photos has access to the 15GB of free space that Google Drive offers – and if you use Google Drive at work or school, then you could have 30GB of space available, or more.
Google makes it really easy to share photos too, appearing as a folder in Google Drive, from where you can choose to share with fellow Gmail users or generate links that can be mailed to anyone. Of course, you might have no interest in sharing your photos at all. Google Photos can still be used just for private backup; in fact, it has a handy automatic backup option that will copy all the photos on your phone to the cloud.
You need to be vigilant about what pop-up messages it gives you, however, and don’t just click ‘OK’ without reading what it is you’re agreeing to. Like most social networks, it’s in Google’s interest for you to share as much stuff as possible, and it will encourage you to share your photos at almost every opportunity. If you’re a very private person, you’ll probably find this annoying, but by being very careful about what you agree to you can limit who your photos are shared with, and make best use of the service.
Finding Google Photos
The Photos section of Google is contained within Google Drive, so you’re going to need a Google account to access it. If you’ve got a Gmail account then you’ll already have a Google Drive account, even if you aren’t aware of it.
Open the Chrome browser on your PC or Mac and from the Google Drive page you can simply select Photos from the menu on the left-hand side of the screen.
The Google Photos service isn’t just for desktops and laptops though – you can access it on your mobile device using dedicated apps, both for Android and iOS, with ease. So you can shoot photos (or videos) on, say, your smartphone, then upload them to Google Photos immediately and enjoy them from any device.
You might expect the more advanced features to only be available on devices running Google’s own Android platform, but the Google Photos experience on an iOS device is the same as Android’s.
The biggest feature is found in the app’s Assistant screen and is just called ‘Movie’ – it’s a way of automatically taking your photos and video clips and creating a nice video that links them all together. You can also turn the best photos from your collection into an interactive timeline, complete with locations from Google Maps, showing where the photos were taken.
While these features are nice, they’re not the killer reason for using Google Photos. Instead, here we’ll focus on the meat of the subject – how to get your photos off your PC or phone, store them online, and share them with friends.
Google Photos also contains some editing options for your photos, including Instagram-style filters you can add to make them better (or at least, different!) almost instantly. Having your photos automatically backed up to Google Photos means that you’ll always have a copy, even if you’ve lost your phone.
To turn on automatic photo backup with Google Photos you’ll need to install the Google+ app on your smartphone. Read on for a three-step walkthrough that takes you through the process on an iPhone. If you’re lucky your Android smartphone will have the Google+ app installed automatically, but you can always install it from the Google Play store if not.
1. Download the app
On your iPhone or iPad, head to the App Store and search for ‘Google Photos’. This is the app you need, and it will enable you to access all the functions of Google Photos, including the editing features. It’s totally free.
Once the app has downloaded and installed, open it to get started.
2. Turn on automatic backup
Tap ‘Get started’ and choose a Google account to use with the app. If you have several they’ll all be listed here.
Once you’ve done this you will get asked if you’d like to turn on automatic backup. This will save all your photos and videos privately on your Google account.
3. Share photos
Backing up hundreds of photos will obviously take a long time, and if you don’t choose to do it now, you can always choose to do it later.
Alternatively, you can select individual photos to upload. You can share the photos with your Google+ circles too. Choose one when you upload them.
Sharing your photos
Once you’ve got your photos uploaded to Google Photos it’s time to see what you can do with them. The most obvious thing you’ll want to do is share them with friends and family.
You’ll be given various chances to share them as you upload them to Google Drive; however if you miss your chance then you can always select the photo from your photo library, and investigate the sharing options.
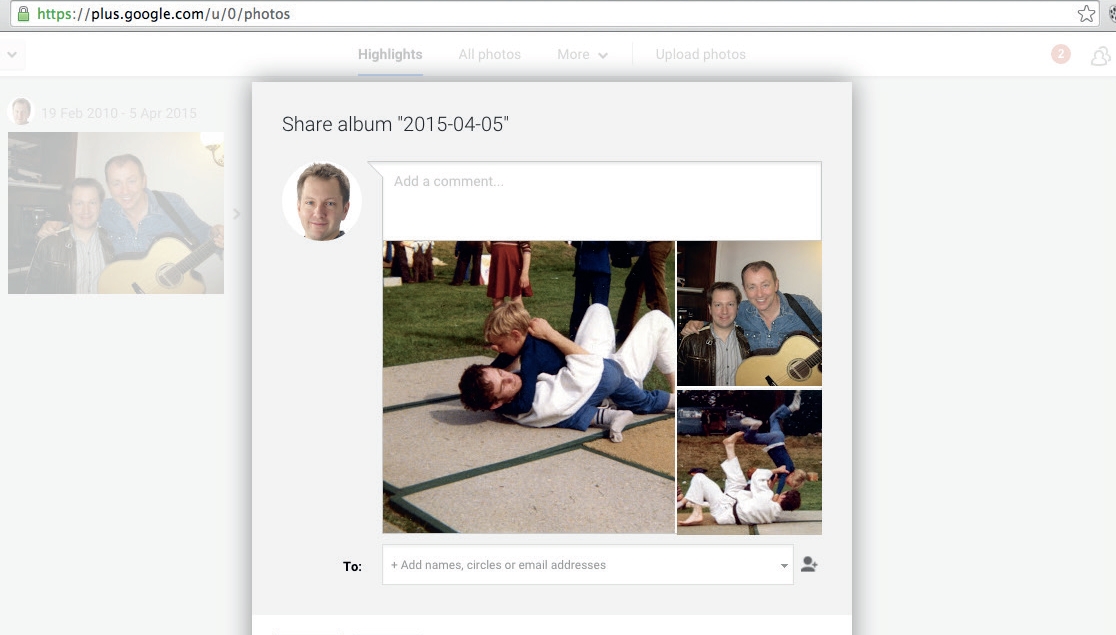
When looking at a single photo, click or tap ‘Share’. This gives you a chance to write a caption for the photo, and offers you options about who you share it with.
As you’ll know if you already use Google+ that it uses various Circles to make sharing more selective. When you share a photo, Friends and Family Circles may be selected by default. You can easily add them by clicking or tapping the ‘To’ field. You can also add individual people here from your Google contacts list.
Security
If you care a lot about privacy then we suggest you click the downward arrow that’s also at the far right-hand edge of the ‘To’ field. This gives you a menu with two important options – ‘Disable comments’, and ‘Disable reshares’.
Disabling the reshares is key to making sure the photo isn’t available to people you don’t know. There’s also a little tickbox at the bottom of the form called ‘Also send email from you…’, which will email people to tell them that you’ve shared a photo with them.
Turn this on or off , as required. If you want to share more than just one photo at a time then head to the Highlights tab in Photos. Here you’ll see all your photos broken down by event or album. Next to each event or album there’s a button called ‘Share’. Click this and you’ll get the same options you would for sharing an individual photo, but you’re sharing the whole photo group.
1. Getting started
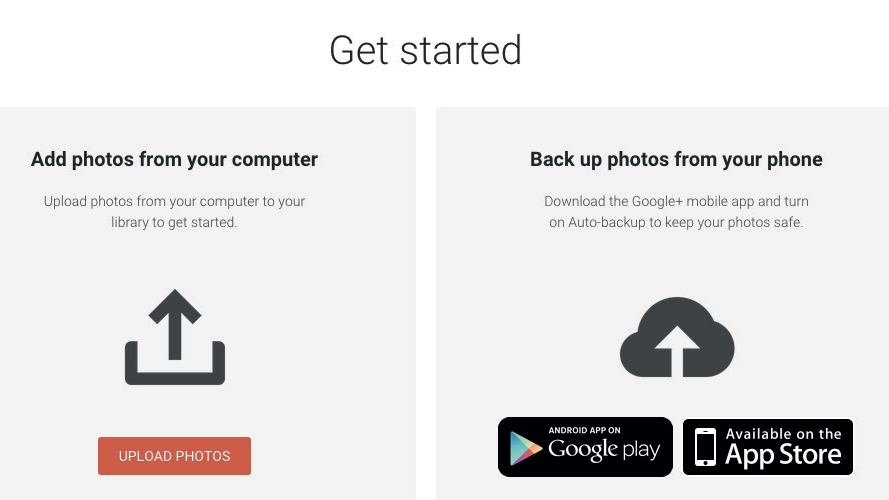
To use Google Photos go to your Google Drive account page and choose ‘Photos’ from the menu on the left-hand side of the screen. This takes you to the Get Started screen, which gives you two options – add photos from your computer or phone.
2. Adding photos
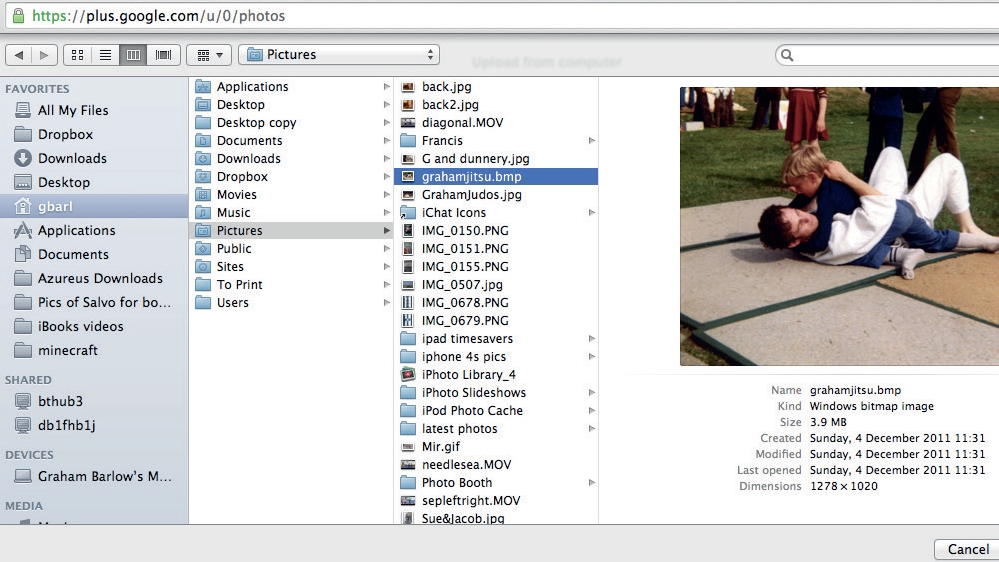
You can drag and drop photos from a computer into your browser window to add them, or using the Google Photos phone app, you can automatically back up any pictures you take on your phone.
It’s available for Android and iOS.
3. Adding captions
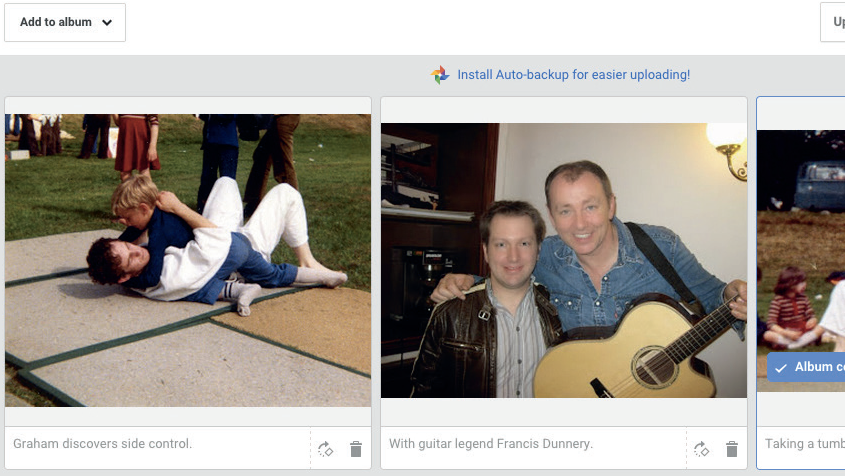
Once you click ‘Open’ the selected photos are uploaded. Be aware, this isn’t a particularly quick process! Once they’re uploaded you can add captions, and choose which will be the album cover – just hover your cursor over a picture to select this.
4. Share the album
Click ‘Done’ once you’re ready. Google will locate faces in your photos and ask you to tag people from your Google contacts.
The album will be shared automatically with anybody you tag – skip this if you want. You can also share with others.
5. Edit the album
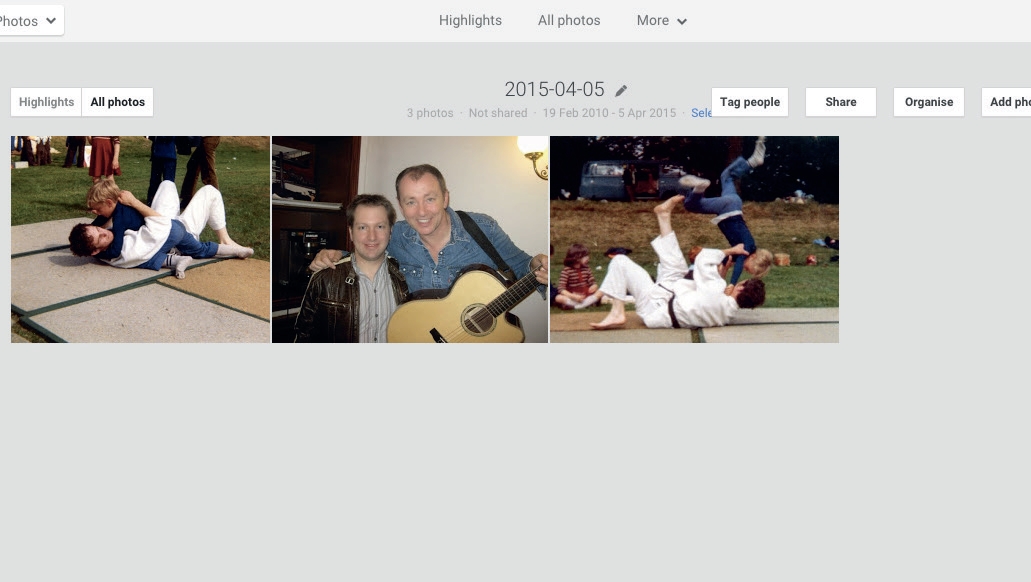
Now you’ll see how your album looks on Google Photos. By default it’s given the date as its name; to change the name click the pen icon next to it. You can also see options here to share the album, tag people, make a slideshow, download and delete photos.
6. Edit photos
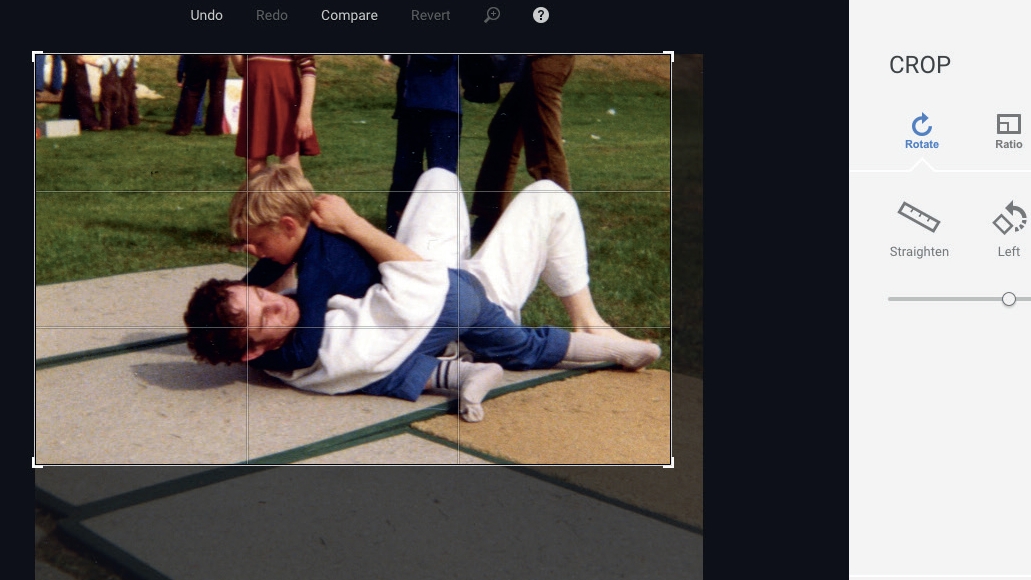
Google Photos offers some basic editing tools and filters. Click a photo, then click ‘Edit’, or any of the tools such as the the Crop tool, to get at the editing screen.
You can crop, straighten, rotate or apply a photo filter and always returns to the original photo, if you need to.
Source: techradar.com


This article is typical of an iOS user. Very innnacurate and scare mongering. Awful