You can use Reliance Jio’s JioFi 2 portable Wi-Fi hotspot to stream content and files across multiple devices like a mini wireless NAS drive. We tell you how.
Earlier this week, Reliance Jio started selling the JioFi 2 MiFi portable hotspot for Rs 2,899. The device can be purchased from Reliance Digital and Digital Xpress Mini stores by submitting a photo copy of Aadhar Card and one passport size photograph. The JioFi 2 comes with ‘Jio Preview’ offer where you get unlimited internet access, HD voice calling and unlimited access to Jio apps for 90 days. Using the device you can connect up to 31 devices at once and also make HD voice calls using JioJoin app on your smartphone. But one little known feature of the portable Wi-Fi hotspot is you can also use it as a NAS drive to share content and files across multiple devices wirelessly. Here’s how you can use the JioFi 2 as a wireless pen drive.
Well, most of our smartphones include microSD card slots, and the data stored on these cards can be shared with other users via Bluetooth or Wi-Fi direct. The JioFi 2 also comes with a microSD card slot up support for up to 32GB. You can store and share data on the microSD card wirelessly with other devices connected to the JioFi 2′s Wi-Fi network.
There are three modes – local mode, Wi-Fi mode and internet mode. While the local mode will allow you to transfer data from PC to microSD card and vice-versa using a USB data cable, the Wi-Fi mode and internet modes allow you to wirelessly share photos, music and documents stored in your microSD card, with connected users.
How to configure JioFi 2 for wireless content sharing
Step One: Connect the JioFi 2 with your PC using Wi-Fi.
Step Two: Open the internet browser and visit jiofi.local.html
Step Three: Enter the login credentials – by default username and password are both ‘administrator’.
Step Four: After entering the login credentials, you will see five tabs on the top — click on ‘Settings’ (on top) and click on ‘Storage’ on the left pane. Under this setting, enable storage account and in storage mode, select Wi-Fi. You will also get the storage username and password, which you can keep it of your choice. Once done, click on ‘apply’ and you’re done.
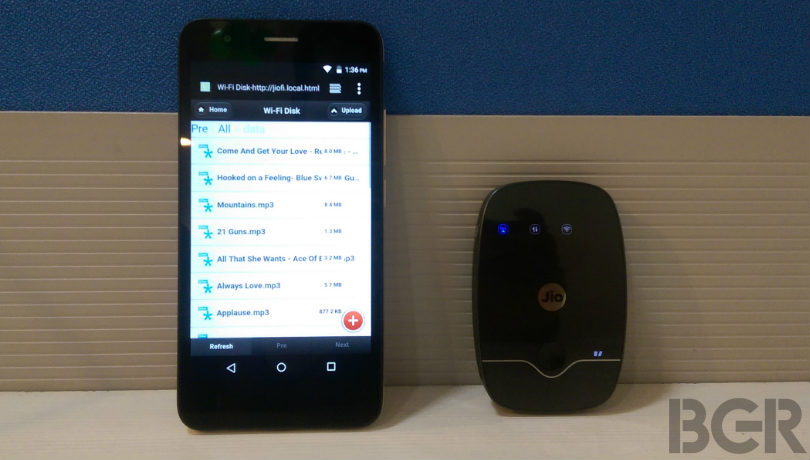
Step Five: To access and upload files on the microSD card, connect your smartphone to JioFi 2 using Wi-Fi. Next, open the web browser and head over to jiofi.local.html/sdcard.html
Step Six: Enter the login credentials of storage username and password that you had set in ‘step four’ and the microSD card folder should open.
The interface is quite dull and boring, but it does work as expected. On the top, you have ‘Home’ button on the left corner and ‘Upload’ on the right corner. At the bottom right corner, you have the ‘+’ button, tapping on which, you get four tabs – select category (audio, video, image, document), create new folder, search and format microSD card.
When the content becomes visible, you can stream music and videos right within the browser or you can download them to your device if you want. I tried streaming music files and a full HD movie weighting 2GB in size, and the playback was flawless. I also tried uploading files from one smartphone, and was able to view and download them on a laptop as well as on the other connected smartphone.
The best thing is that it seems to transfer data over Wi-Fi Direct, which means no Internet data is consumed for wirelessly transferring the files stored in the microSD card. But even if it uses data, Reliance Jio is not charging anything for it at the moment, so that works too.
Source: bgr.in